Digimon ACE Overflow: when do you lose memory?
On this page
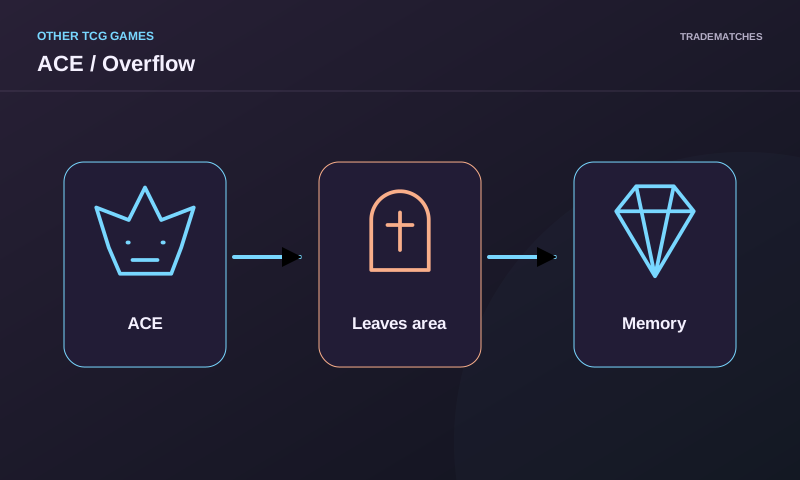
Overflow is the counterpart of many Digimon ACE cards: when the card leaves the field or below another card to another zone, you lose memory. The official revision of April 2026 expanded the case to the breeding area.
Read the number of your card
Overflow appears with a value. That number indicates how much memory you lose when the specified exit occurs, not a universal amount for all ACEs. For example, Overflow -4 moves the memory gauge four positions toward the opponent. An ACE card that remains below an evolution has not yet left below that card.
The field includes battle and breeding
The 2026 revision defines the field as the set of the battle area and the breeding area. If an ACE with Overflow leaves directly from the breeding area to another zone, it is now processed for memory loss. Before, some situations there were resolved in another way; therefore, it is advisable to avoid older guides without a date.
Do not confuse exit with evolution
Evolving over an ACE normally places it below another card and does not itself mean that it has left to another zone. The relevant moment comes when the ACE leaves the field or leaves from below another card. If several effects trigger at the same time, consult the current rules and the judge of the event.
Read Overflow as a movement condition
Overflow on a Digimon ACE card is not a cost you pay when playing it nor a penalty applied to all turns for having it on the field. It is processed when the card with that keyword moves from the zones defined by the rule to another zone. The printed value, such as Overflow -4, indicates how much memory the owner loses when that movement occurs. To resolve it correctly, identify the physical ACE card, where it was just before, and where it goes. It is not enough to say "my Digimon was defeated" if there were several cards in the same stack or if the effect moved only one of them.
Memory loss is represented by moving the memory gauge toward the opponent's side. If you were three of your side and lose four, you would end up one on the opposite side before resolving any other effect that modifies memory. The number is not universal for all ACEs: look at the value of the card that left. It also does not add a penalty for an ACE card that remains under another card without changing zones. The specific card and the specific movement are the two essential data points.
What changed in April 2026
The official revision of April 1, 2026, changed the definition of the field to include both the battle area and the breeding area and adjusted Overflow: now it is processed when the card leaves the field or below another card to another zone. Before, an ACE card alone in the breeding area could leave without activating Overflow because it was not in the battle area, while an ACE used as a digivolution card below another did activate Overflow when it left below. The revision eliminates that difference in the described case. The official page of changes explains it explicitly and notes that it also affects already printed ACE cards.
This detail matters if you learned the game with an older guide or video. A recorded demonstration before the change may show an exit from the breeding area without memory loss. Do not automatically copy that sequence into a current game. Verify the date of the source and consult the current wording. There is no need to search for a replacement card: the rule update applies to existing copies. If a rival is unsure, show the official note and reconstruct from which zone the card left.
ACE as a Digimon in the field
When a card with Overflow is visible as a Digimon in the battle area and moves to another zone due to a defeat, revival, or applicable effect, identify the Overflow condition and move the memory according to its value. Do not confuse the moment with the start of your turn or the instant it entered the field. It is the exit. If several things happen at the same time, resolve the order and effects according to the current manual; do not interrupt the turn just because the gauge crosses to the opponent's side mid-sequence.
Example: you control a Digimon ACE with Overflow -4. An effect sends it to the trash from the field. Signal the card, apply the loss of four memory, and continue resolving the action and effects that apply. If you were two memory points, the gauge would end up two on the opponent's side before any additional changes. Your turn does not get cut short in the middle of the resolution for that movement. The Digimon memory guide helps decide when it actually ends.
ACE below another card
An ACE can be placed below another Digimon as a digivolution card. Its presence there does not cause continuous memory loss. The question is whether that specific card moves from below to another zone. If an effect eliminates a digivolution card and that card is the ACE with Overflow, the condition may be met. If the stack remains on the field and the ACE continues below the upper card, you have not described an exit of the ACE. Look at each card in the stack, not just the name of the Digimon on top.
Imagine a stack of three cards, with an ACE in the middle. An effect removes the lower card, which is not an ACE: do not attribute movement to the ACE that it did not do. If another effect removes the ACE specifically from below to the trash, consult and apply its Overflow. The difference seems small, but avoid moving memory for a card that remained where it was. In games with large stacks, extend them just enough to indicate which card changed zones and return the order after resolving.
The breeding area also counts as field
The new definition of the field includes the breeding area for the Overflow condition. This does not mean that all ordinary abilities of a Digimon in breeding function the same as in battle. The rules maintain restrictions specific to that zone. Do not use the Overflow change to conclude that any effect can choose, damage, or activate an ability there. The revision responds to a specific movement: when the ACE leaves the field, the fact that it was in breeding no longer removes it from the general condition.
A useful test involves asking two questions in order: "Did the ACE leave the field or below a card?" and "Where did it move to?" If the answer satisfies the current rule, process the Overflow value. Then review any other ability or effect that needs to be resolved. Separating these questions avoids vague discussions about whether "breeding is protected." Some breeding protections still apply to other effects, but the official page of changes identifies Overflow as a relevant exception to the old result.
Overflow and the end of the turn
Losing memory can move the gauge to the opponent's side, but Digimon does not interrupt the resolution of an action or attack halfway. Complete pending effects and check the end-of-turn conditions. If a later ability returns memory to zero or your side before that moment, the turn can continue according to the rules. Therefore, it is not advisable to physically give the gauge to the opponent and start their turn immediately when Overflow is processed. Maintain the visible count and complete the sequence.
Example: you play a line that causes an ACE to leave and Overflow -4 places you one on the opponent's side. There is still an effect that gains memory within the same resolution. If it returns the gauge to your side or to zero, consult the current end-of-turn condition before passing. If it remains on the opponent's side after resolving all pending effects and the moments of end-of-turn, then it changes. The principle is the same as for any Digimon cost that crosses zero.
How to assess the risk when using an ACE
An ACE can offer a powerful effect on the field, but its Overflow makes losing it a memory cost. Before relying on it, calculate what the opponent can do to remove it or take the card from below. Do not evaluate it solely by its attack points or the moment it enters. If its exit results in the opponent gaining several memory points, it may give them a large response opportunity. That is a strategic decision based on the rule, not a prohibition of playing ACE.
Also consider the state of the gauge. Losing four memory when you are very favored may still leave you with the turn; losing four from zero can give the opponent a significant advantage at the start of their turn. Do not assume it always happens the same way. Do the math before choosing a line that sacrifices or moves the ACE and consider if you can complete your plan before the opponent takes advantage of the memory. A small preventive calculation avoids surprises.
Common errors
One: applying Overflow when entering the field. Two: using the same value for all ACE cards. Three: processing it because another card left the stack while the ACE remained below. Four: ignoring breeding using a rule prior to April 2026. Five: finishing the turn before completing all pending effects. To resolve any case, point to the physical ACE card, its value, origin zone, destination, and the final memory position after the entire sequence. The official change page and current manual are the references that should be saved.
Common questions
Does Overflow apply in the breeding area?
Yes when the described exit is fulfilled; the April 2026 revision clarified this explicitly.
Do all ACEs lose the same memory?
No. Use the specific Overflow value of the card.