Digimon memory gauge: when does the turn change?
On this page
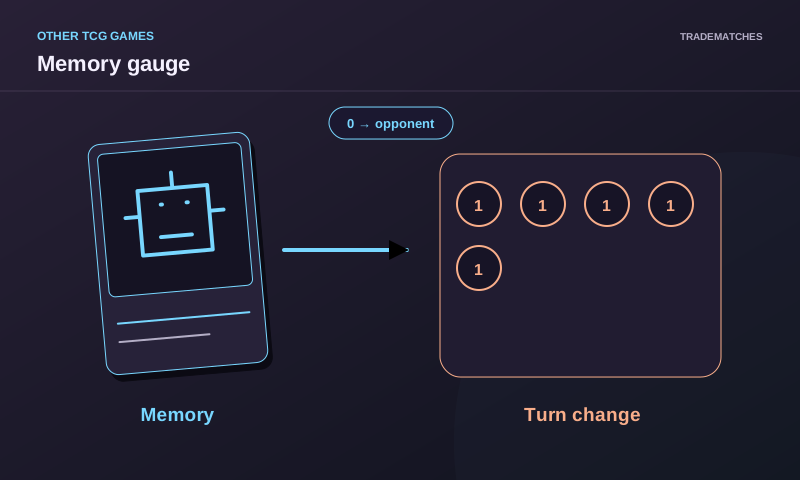
In Digimon Card Game, both players share a memory gauge. Paying a cost moves it toward the opponent's side. Crossing zero does not cut the card or action you just played in half.
Start with the cost and move the memory gauge
If you have three memory and play a digivolution card with a cost of five, the memory gauge ends at two on the opponent's side. The play continues to be yours while the card game and corresponding effects are completed. Do not stop a digivolution or attack in the middle of resolution just because the marker crossed.
Zero is not the opponent's side
The zero is in the center. If you finish an action in zero, you still haven't given positive memory to the opponent for that cost. You could continue acting if you have a legal action and can pay it. The turn changes when the regulatory sequence ends with memory on the opponent's side, after resolving the pending matter.
Effects can return memory
A skill triggered during an action can gain memory and move the memory gauge back to your side before the end of the turn check. This can allow you to continue. That is why it is advisable to announce the cost, resolve effects, and only then confirm who's the next turn.
The memory gauge is shared
Digimon Card Game uses a single memory field for both players. The central area marks zero; on each side, the points that the corresponding player can use are shown. Paying a cost moves the marker toward the opponent's side. If you gain memory, it moves back to your side. This visualization makes a large play able to give resources to the opponent when your turn ends. To read it well, always announce from which position you start, how much the action costs, and where the memory gauge ends, rather than just saying "I pay five."
Example: you start at three on your side and play a card with a cost of five. Subtracting five moves the memory gauge to two on the opponent's side. You can perform the play even if you don't have five "saved" markers as in other games; the cost moves the field. This does not mean the opponent starts immediately while you are still placing the card or resolving effects. First, finish the action and everything that should happen in its sequence. Then check if the turn can end.
Zero does not belong to the opponent
A simple error is believing that reaching zero ends your turn. Zero is the center of the memory gauge, not the opponent's side. If you start at three and pay three, you end at zero and can continue performing allowed actions. If you then pay one, the marker moves to one on the opponent's side and the end-of-turn check occurs after resolving the pending matter. Separating zero from "one on the other side" is essential when planning small-cost evolutions.
Imagine a hand with a card with a cost of two and another with a cost of one. You start at three. After the first, you end at one on your side; after the second, you end at zero. If the actions and effects are completed without moving the marker to the opponent's side, you can still decide what to do. It is not mandatory to pass through having spent all the "initial balance." This flexibility distinguishes memory from a reserve that is depleted to zero and locked.
Crossing to the opponent's side does not cut the action
When the cost moves the memory to the opposite side, the card or action that caused the movement continues resolving. If a digivolution activates effects, those effects and the corresponding sequence effects are processed before turning the turn over. The same applies to an ongoing attack. Do not leave a Digimon half-digivolved or interrupt a check because the marker crossed. Bandai explains in their official answers that turns change after finishing attacks and relevant effects.
Example: you start at two and pay three for a digivolution. The marker ends at one on the opponent's side. The new card is placed, the digivolution steps are followed, and the resulting effects are resolved. Only then is it determined if your turn ends. If an effect in that sequence gains two memory, the marker can return to one on your side. In that case, the final check may allow you to continue. Advancing the turn change immediately upon paying would have illegally removed the opportunity for that effect to act.
What happens if you recover memory
The current rule states that if memory returns to zero or your side before completing the end-of-turn check, the turn does not end due to that temporary crossing. It is not about "taking away" a turn from the opponent after they have already started; they hadn't started yet. The sequence was still open. That is why it is advisable to keep the memory gauge in its real position at each step and narrate the changes. Do not return it to the previous position just because you expect to gain memory later: move the marker when the corresponding effect is resolved.
Consider a sequence of effects where paying a card leaves you at two on the opponent's side, a skill gains one, and another gains two. The marker moves from two on the opponent's side to one on the opponent's side and then to one on your side. If all effects occur in the relevant sequence, consult the final condition with the real value of one on your side. A spectator who only saw the first crossing could think the turn had already ended. Keeping track step by step avoids that confusion.
Passing also moves the memory
If you decide to pass, the complete manual states that the memory gauge moves to three on the opponent's side. It is not a cost-free pass that leaves the field exactly where it was. You can do it when you don't want or can't perform more actions. Announce the pass, move to three on the opponent's side, and follow the end-of-turn procedure. This rule allows the opponent to start with a minimum amount of memory instead of receiving a turn with zero due to your decision not to play anything.
If you are at one on your side and have a card with a cost of five, you can play it and leave the opponent at four after resolution, or pass and leave them at three. The first option can give you the effect of the card, but it also gives more memory to the opponent. The comparison is not just "play or not play"; it is what final value you deliver and what position you get on the table in exchange. This small calculation influences many turns of Digimon.
A count of three plays
You start at five on your side. First play: cost two, you end at three. Second: cost three, you end at zero. Third: cost four, the marker ends at four on the opponent's side. The third play continues resolving; if there are no effects that return memory or other conditions that delay the end, the opponent will receive the turn after. It could not have been said at the beginning that you only had "five to spend" and that the third card was illegal because it cost four when you were at zero. You must accept the consequence of giving memory to the opponent.
Now change the third play to one with a cost of one and an effect that gains two memory. The payment moves you to one on the opponent's side and the effect can return the marker to one on your side before the final moment. The availability of that sequence depends on the actual card and its conditions, but the arithmetic shows the principle. The order of movements matters. Do not do a net calculation in your head and omit the steps, because some skills may be interested in what happens between them.
Overflow uses the same field
Memory does not move only when playing cards. An effect, a skill, or the Overflow of an ACE can also change the marker. Apply the value when appropriate and continue resolving the situation. If the loss from Overflow crosses to the opponent's side during an attack, finish the attack and the effects before changing turns. Do not invent a second field for "costs" and another for "penalties": everything affects the same shared marker. When making decisions, add the cost of your line and the memory you could lose if an ACE comes up.
The 2026 review of Overflow is important because it expands the situations in which an ACE in the breeding area can cause the loss. It does not change the general principle of the end of the turn: memory can cross during a sequence that still needs to be completed. When a new player learns both rules at the same time, it is advisable to practice the simple count of costs first and then add movements by effects. This way, they can distinguish what caused each change.
Common errors when announcing the end
The first is ending at zero. The second is starting the opponent's turn as soon as the cost crosses the center. The third is forgetting pending effects that return memory. The fourth is passing without moving the marker to three on the opponent. The fifth is resolving several memory changes as if they were a single result without order. To correct them, place a visible marker, announce each movement, and ask at the end of the sequence where it is. Only then apply the turn change rule.
If there is a complex interaction, reconstruct the state before the first action: initial position, paid cost, triggered effects, and position after each one. Consult the current official manual and the specific card question. With these data, you can resolve most discussions without guessing. Memory is a shared tool for managing the pace; reading it accurately makes costly plays and evolutions have the results that the rules actually indicate.
FAQ
Does my action end when I move to the opponent's memory?
No. The action is completed and the applicable effects are resolved before the change.
Does ending at zero end the turn?
No by itself: zero is the center, not positive memory of the opponent.